14 Small Apartment Kitchen Backsplash Ideas That Make a Tiny Kitchen Look Finished
Here’s the thing nobody tells you about a small kitchen: it’s not the cabinets that make it look unfinished, it’s the wall. Mine was bare plaster with a few old splash stains from the previous tenant, and no matter how tidy I kept the counters, the whole kitchen looked half-done. I kept thinking I needed a full renovation. I didn’t. I needed a backsplash.
What I learned the hard way is that a backsplash in a tiny kitchen does two jobs at once. It protects the wall from actual cooking — tomato sauce has no respect for paint — and it gives your eye something finished to land on, which makes the whole room feel pulled together. And in a rental, most of this can be done without drilling, tiling, or losing your deposit. I started with peel-and-stick tiles because I was scared of committing, and honestly, that cheap first try is what made me brave enough to do the rest. These 14 ideas are the ones that actually worked in a small, rented kitchen.
Quick Answers
- What is the best backsplash for a small apartment kitchen? Peel-and-stick tiles or a painted panel, in a light colour. Both are renter-friendly, cheap, and easy to remove, and light colours keep a tiny kitchen from feeling boxed in.
- Can you add a backsplash in a rental without losing your deposit? Yes, if you stick to removable options — peel-and-stick tiles, adhesive panels, or a freestanding board leaned against the wall. Avoid real tile adhesive and grout unless your landlord has said yes in writing.
- Should a small kitchen backsplash be light or dark? Light, usually. A pale tile or a soft colour bounces light around and makes the wall recede. Dark backsplashes look gorgeous in photos and can make a tiny kitchen feel like a cupboard.
- How much does a small apartment backsplash cost? A peel-and-stick job for a typical small kitchen often costs less than a weekly shop. Real tile costs more and needs tools, but even that is one of the cheapest kitchen upgrades there is.
1. Peel-and-stick subway tiles — the renter’s first, best move
If you do nothing else from this list, do this one. Peel-and-stick subway tiles look surprisingly like real tile from normal standing distance, they go up in an afternoon, and they peel off when you move out. I did my whole cooker wall on a Saturday morning, slightly hungover, with a craft knife and a spirit level I borrowed from a neighbour. The trick is cleaning the wall first — grease is the enemy, and tiles stuck over grease will peel off in a week and take your confidence with them. Wipe it down, let it dry properly, then stick.
2. A painted backsplash panel that costs almost nothing
Before I trusted stick-on tiles, I painted a board. Literally a sheet of plywood, painted, sealed with a wipeable topcoat, and screwed — okay, leaned — behind the cooker. It cost next to nothing, it protected the wall, and when I got bored of the colour, I repainted it. If you’re nervous about committing to a tile, this is the low-stakes version. Our small apartment paint colours guide has shades that actually work in tiny kitchens, not just shades that look good on a paint chart.
3. Classic white subway tile, laid in a brick pattern
There’s a reason every kitchen photo uses white subway tile: it works, and it never dates. In a small kitchen it does something extra — it reflects light, it makes the wall look taller, and it goes with whatever cabinets you already have, even the ones you didn’t choose. If your landlord will allow real tile, or you’re in a place you own, this is the safe, grown-up choice. I was wrong about this for years — I thought white tile was boring. Then I lived with a stained wall for a year, and boring started looking very, very good.
4. Sage green tiles for a kitchen that feels calm, not clinical
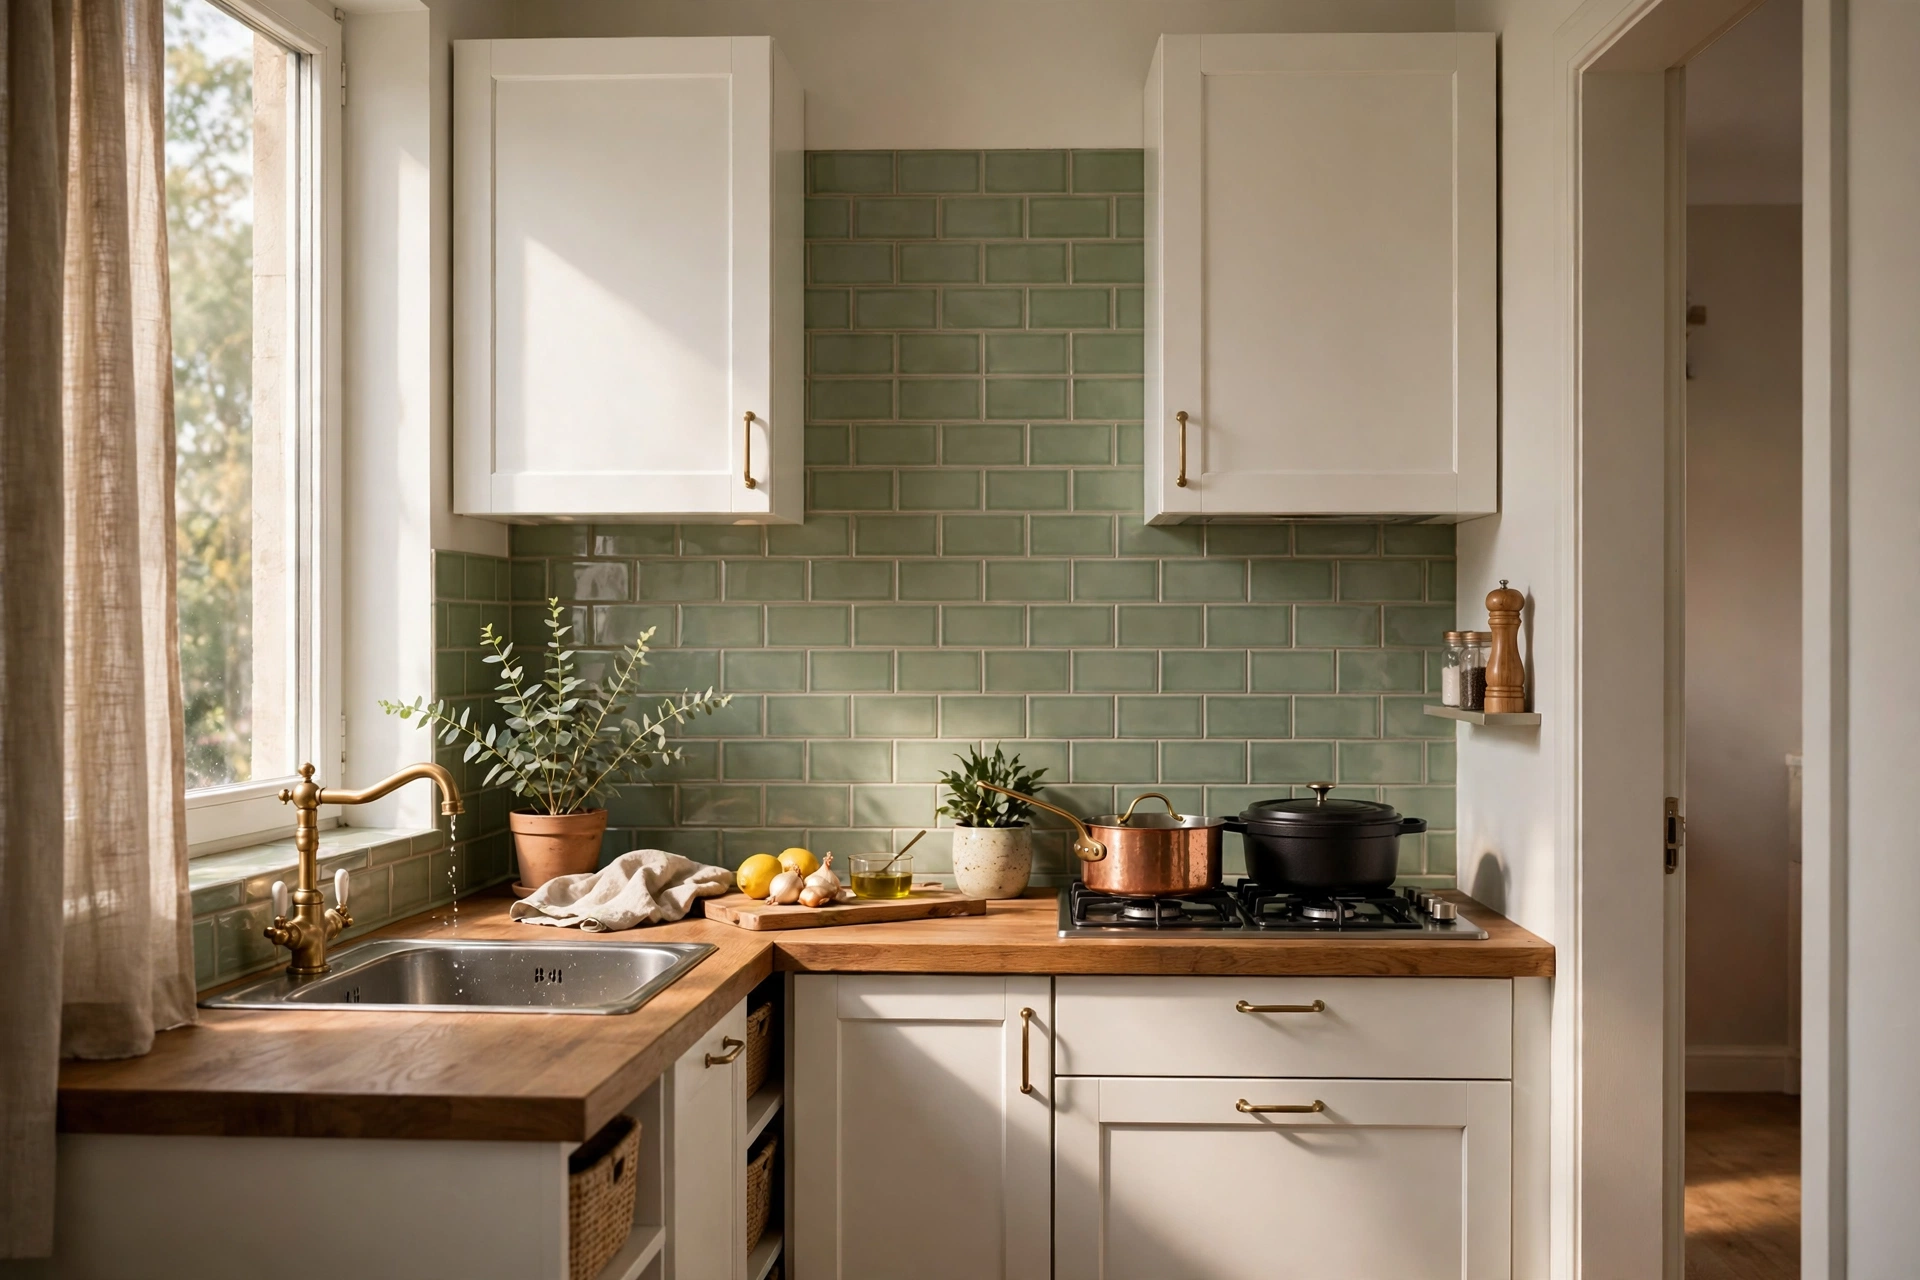
White is safe, but sage green is the colour that made my kitchen feel like a room instead of a workspace. It’s soft, it works with wood and white cabinets, and it doesn’t shout. I went with a muted sage in a subway shape, and suddenly the kitchen felt like somewhere you’d actually want to stand with a coffee. Green is forgiving too — it hides the odd splash better than white does, which, if you cook like I do, matters more than you’d think.
5. Glossy tiles that bounce light around a dark corner
My kitchen has one window and it faces a brick wall, so light is not exactly pouring in. Glossy tiles changed that more than any lamp did. The shine bounces whatever light there is back into the room, and the wall stops being a dark hole behind the cooker. Matte tiles are prettier up close, I’ll give them that, but in a dim little kitchen, gloss earns its keep. If your kitchen is dark for the same reason, our small kitchen decor ideas have a few more light-stealing tricks in the same spirit.
6. A single row of patterned tiles as an accent, not a whole wall
Full patterned tile can overwhelm a tiny kitchen fast — it’s a lot of visual noise in a small space. One row, though? One row is perfect. I ran a single strip of patterned tiles along the middle of an otherwise plain wall, like a belt, and it gave the kitchen character without making it feel busy. It’s also cheaper, because you’re buying one box of the pretty tile instead of ten. This is the move if you love bold tile but your kitchen is the size of a cupboard.
7. Herringbone, but only behind the cooker
Herringbone is the pattern everyone wants and nobody wants to pay a tiler to lay across a whole wall. The compromise that actually works: herringbone just behind the cooker, in a neat rectangle, with plain tile everywhere else. You get the fancy pattern where your eye lands, and you don’t get the bill — or the visual chaos — of doing the whole kitchen in it. Peel-and-stick herringbone sheets exist now, which means you can do this in a rental without learning to cut tiles at angles. I wish I’d known that before I spent a weekend watching tiling videos.
8. Beadboard for a cottage feel that hides a rough wall
If your kitchen wall is rough, uneven, or just plain ugly, beadboard is your friend. It’s a panelled board that covers sins beautifully, it paints easily, and it gives a small kitchen a warm cottage feel that tile sometimes doesn’t. Seal it well behind the cooker — steam and grease are not kind to raw wood — and wipe it down like you would any backsplash. Mine hid a wall with three different paint colours and a mysterious dent, and nobody has ever guessed.
9. A stainless steel panel behind the cooker, and nowhere else
This one is pure practicality, and I love it for that. A stainless steel sheet behind the cooker takes every splash, every bit of oil, and wipes clean in seconds. It looks properly kitchen-like, too — like you actually cook, which is the vibe I’m going for. I only did the cooker section, not the whole wall, because a full steel wall can feel cold in a small flat. Just the cooker zone, though, looks deliberate and saves the wall behind the messiest spot in the kitchen.
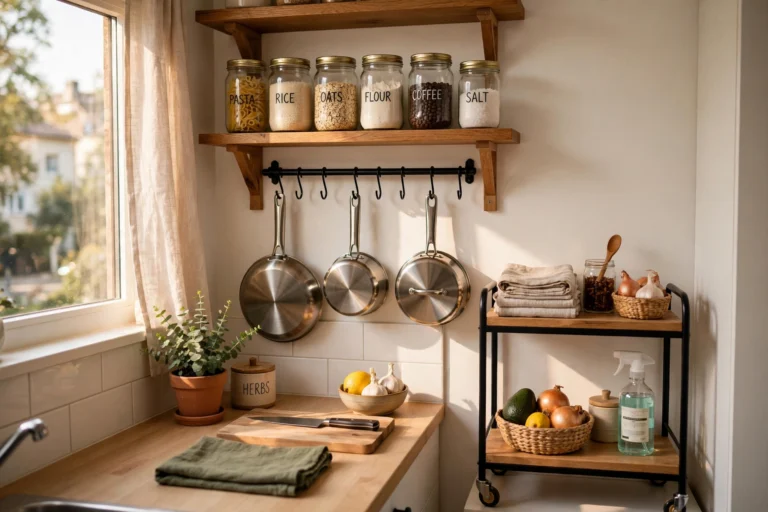
10. Open shelving with a tiled strip underneath
Here’s a combination that solved two problems at once for me: open shelves for the pretty bowls, with a tiled strip on the wall underneath them. The tile protects the wall where splashes actually land, and the shelves give you storage without upper cabinets boxing the room in. Keep the shelf styling simple — a few bowls, a plant, nothing precious — because anything on an open shelf in a kitchen will get a light film of cooking grease eventually. That’s not a flaw, that’s just kitchens. For the storage side of this, our small kitchen organization ideas will keep those shelves from turning into a jumble.
11. A chalkboard backsplash section for lists and recipes
Okay, this one is a bit of fun, and it earns its place. A section of chalkboard paint on the backsplash — just one panel, not the whole wall — becomes your shopping list, your recipe notes, and your reminder that you’re out of milk. It wipes clean, it looks intentional if you keep the writing tidy, and guests always comment on it. Keep it away from the direct splash zone behind the cooker, though, or your shopping list will slowly dissolve into the pasta sauce.
12. Terracotta tiles for warmth in a white kitchen
If your kitchen is all white cabinets and white walls and it’s starting to feel like a laboratory, terracotta is the fix. Warm, earthy, a little bit rustic, it brings instant warmth without darkening the room the way a dark tile would. I used terracotta-look peel-and-stick tiles in a friend’s flat and the difference was immediate — the kitchen went from flat to warm in an afternoon. Pair it with wooden boards and a plant, and it looks like you planned the whole room around it. You didn’t, but nobody needs to know that.
13. A mirrored or metallic strip to fake more space
This is a slightly sneaky trick, but it works: a mirrored or metallic strip along the backsplash reflects the room back at itself, and your brain reads that as more space. It’s the same reason mirrors work in tiny bedrooms. I wouldn’t do a whole mirrored wall — too much, and you’d be cleaning fingerprints forever — but a strip, or metallic-look tiles, gives a small kitchen a bit of depth it didn’t have before. Clean it with glass cleaner, not an abrasive sponge, or you’ll scratch the shine off in a month.
14. Keep it simple, keep it wipeable, and stop there
Last idea, and it’s the one I had to learn twice: a backsplash in a small kitchen should be simple and wipeable, full stop. The week I got ambitious and mixed three patterns, two colours and a shelf, the wall looked like a mood board that had fallen over. I stripped it back to one tile, one colour, and suddenly the kitchen looked finished instead of frantic. If the rest of your kitchen needs the same ruthless edit, our small kitchen ideas guide is a good place to start — and our kitchen storage on a budget guide covers the clutter that was hiding behind the whole problem in the first place.
FAQ
Can I put a backsplash over existing tiles?
Yes, in most cases. Peel-and-stick tiles stick well over smooth existing tiles if you clean and degrease them first. If the old tiles are heavily textured or cracked, a panel or board over the top is a safer bet than sticking tile to tile.
How do I remove peel-and-stick tiles without damaging the wall?
Warm them gently with a hairdryer, peel slowly from a corner, and clean any leftover adhesive with warm soapy water. Most modern peel-and-stick tiles are made to come off cleanly, but test one tile first if your walls are freshly painted or plastered.
What height should a kitchen backsplash be?
The usual height is from the countertop up to the bottom of the upper cabinets, often around 18 inches. In a kitchen without upper cabinets, going a little higher — or all the way to a shelf — can look intentional rather than unfinished.
Is a backsplash worth it in a tiny rental kitchen?
Honestly, yes, because it’s one of the cheapest changes with the biggest visual payoff. A removable backsplash protects the wall, makes the kitchen photograph better, and you can take it with you — or peel it off — when you leave.
Bottom Line
Here’s what my stained rental wall taught me: you don’t need a new kitchen, you need a finished wall. That’s it. One afternoon, one removable backsplash, and the room that used to look half-done suddenly looks like someone cares about it. Start with peel-and-stick if you’re renting, pick a light colour if your kitchen is dark, and keep it to one pattern. The wall will thank you, your deposit will survive, and cooking dinner will feel a little less like standing in a room that’s still waiting to be finished. Start this weekend — the wall has waited long enough.